

- Docs
- Get started
- Agent Dashboard
Agent Dashboard
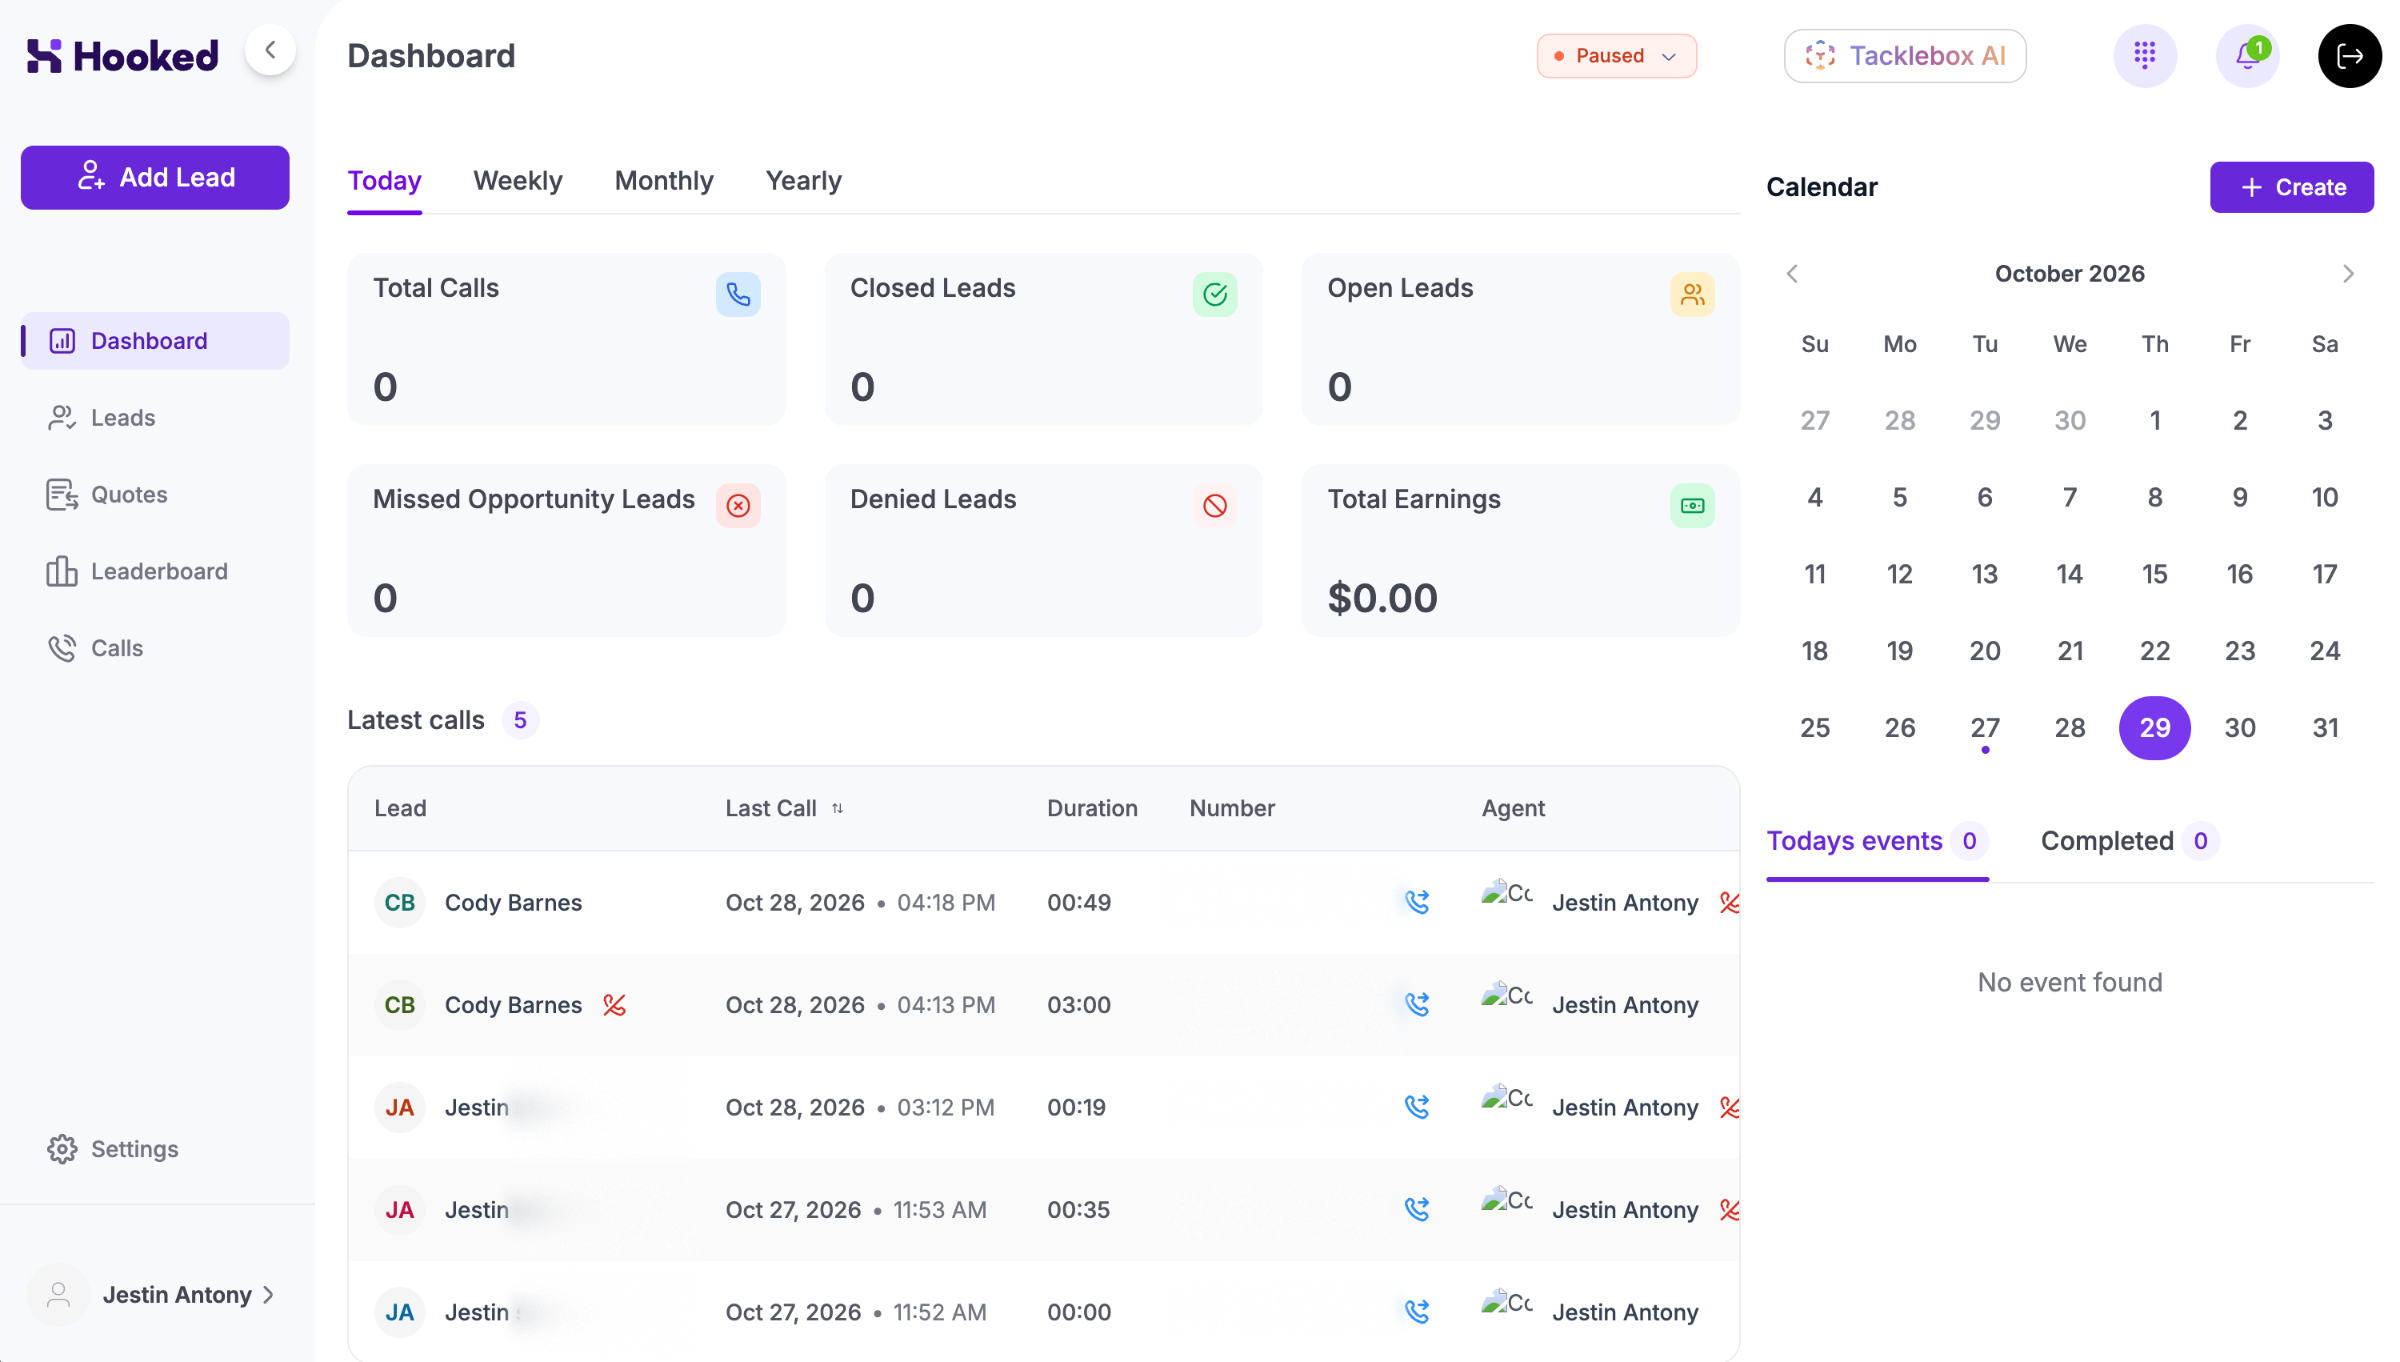
Overview
The Hooked Dashboard is your hub for discovering what’s next for your workflow. As an agent, here’s how to navigate the Dashboard:
Understanding the General Statistics
When you initially log into Hooked CRM, you’ll get a visual of different statistics attributed to your account. Here’s what each stat tracks:
Total Calls: the number of phone calls received in a period
Closed Leads: number of leads that ended in a successful call
Open Leads: number of leads you’re still working on
Missed Opportunity Leads: leads that were not contacted in time for a sale
Denied Leads: number of leads who weren’t interested
Total Earnings: the amount of money earned in a period
We are working on functionality that allows admins to choose what's tracked on the dashboard.
Toggling Your Metrics
By default, you’ll be given metrics for the current day. However, you will have the option to change the time period of the statistics tracked.
These options are above the general statistics, and you simply click the preferred time period to change the display.
Currently, you can change the time period to be Weekly, Monthly, and Yearly.
We are working on creating custom fields, so you can choose the timeline in which the data is displayed.
Calendar
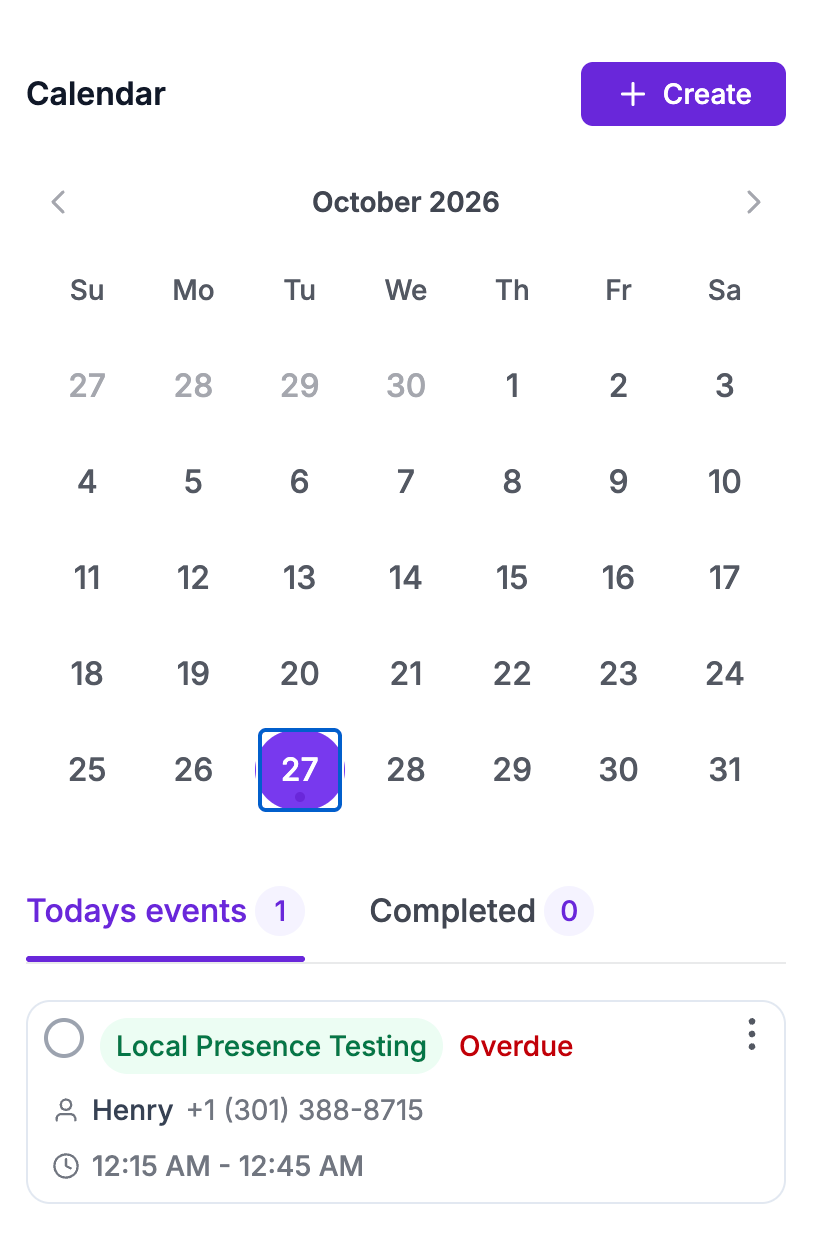
Your Calendar is located on the right side of the Hooked Dashboard. On this calendar, you can...
Create new events
Keep track of current events
Review previous events
Check our Calendar Help & Support page to learn more about the various features within your calendar.
Alternatively, you can use Tacklebox AI to automatically add, delete, and adjust events to your calendar.
Sidebar Options
As an agent, your sidebar, located on the left of the Hooked window, will have these options:
Add Lead: Manually inputs a new lead into the system
Dashboard: Takes you back to the Dashboard
Leads: Displays a list of your leads
Calls: Shows your call log
Settings: Brings you to your Agency Knowledge Base
Status: Symbolized by your profile picture and name, this is where you can change your call status and adjust your profile settings.
Using the Dialpad
You can open the Dialpad from any page. The Dialpad button is at the top of the page, next to the Logout button.
To discover more about the call functionality, head to the Making Calls help & support page.
Tacklebox AI
You can open our AI assistant, Tacklebox AI, from any page. To activate Tacklebox AI, click on the button at the top of the page labeled Tacklebox AI.
To discover more about our AI assistant, head to the Tacklebox AI help & support page.
Changing Your Status
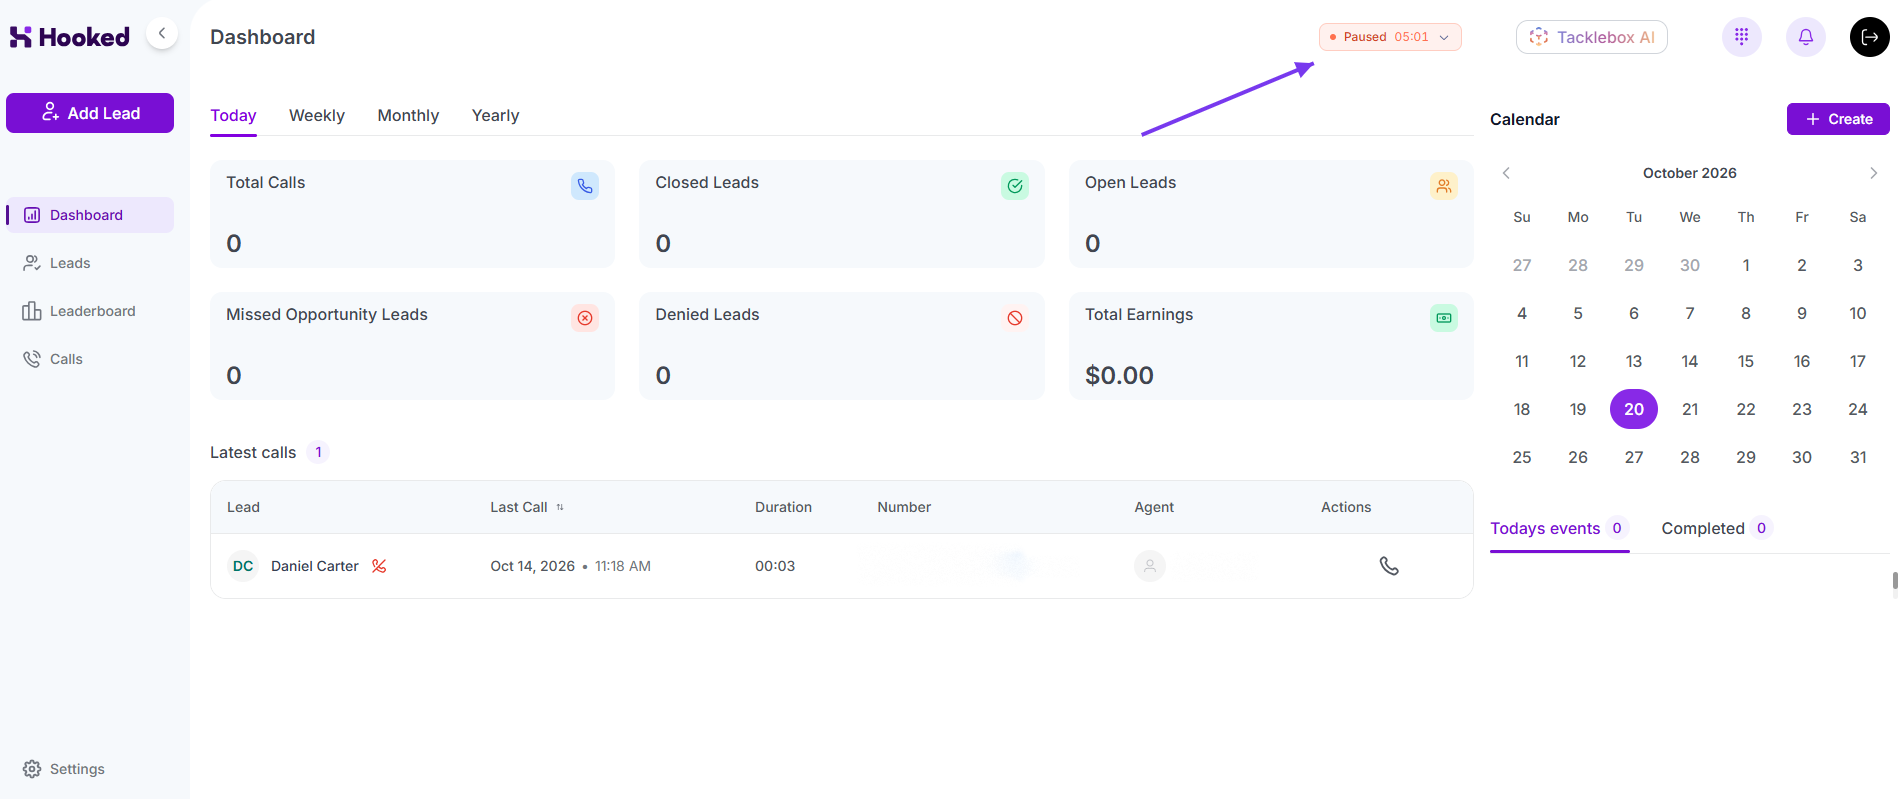
To start receiving calls within Hooked CRM, you need to change your status to Ready for Calls. You can change your status on any page within Hooked through the options on the Hooked application's top bar.
Click on the status setting, indicated by your profile picture and name, to open the menu. Select Ready for Calls to be added to the Agent Queue. You can exit the queue by selecting Pause.
You can also set your status by clicking on your profile on the lower left hand corner of your screen.
Logging Out
You can log out from any page by clicking the Log Out button at the top right of your screen. By logging out, you automatically remove yourself from the agent queue and are sent to the login screen.